| Make good PDF - Part II Making a PostScript file (Windows workflow) | |
|
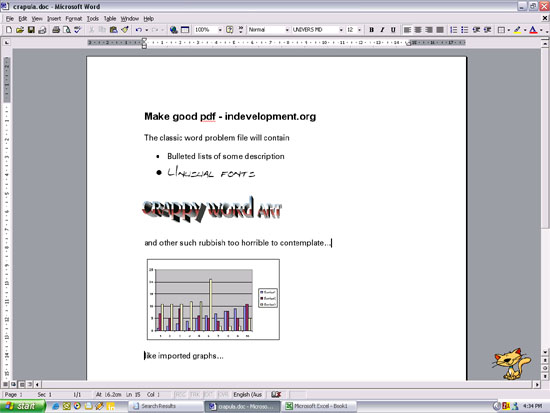
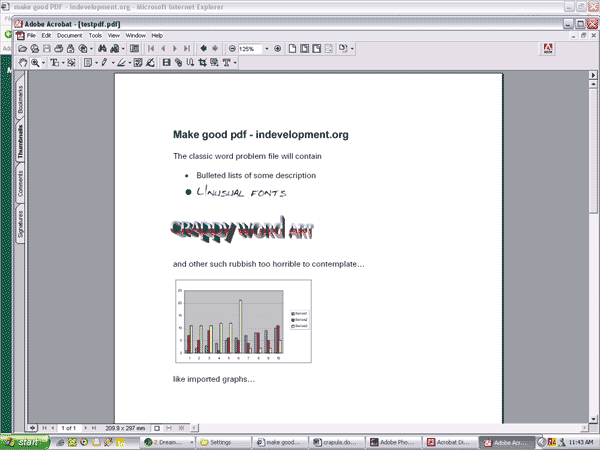
The crappiest word file you ever did see |
|
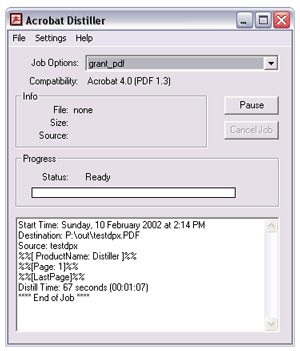 |
Now that you've turned off the ability to automatically create a PDF, you've also turned off the ability to make bad PDFs by accident. You've taken responsibility into your own hands. The first step to making a PDF is by opening the Acrobat Distiller application. This is launched from the Start menu (Start-All Programs-Acrobat distiller). The application looks something like this. |
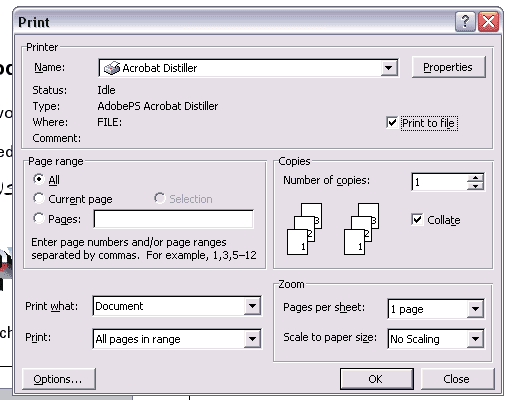 |
Step two is selecting the correct printer. On some systems you might have the option between Distiller and PDF writer. Under no circumstances uses the PDF writer: it's not a good process and the resultant PDF file is no where near as good as one made by distiller. Check the print to file option because this is what we will be doing. We will not be printing to a physical printer: we'll be going to a virtual printer. |
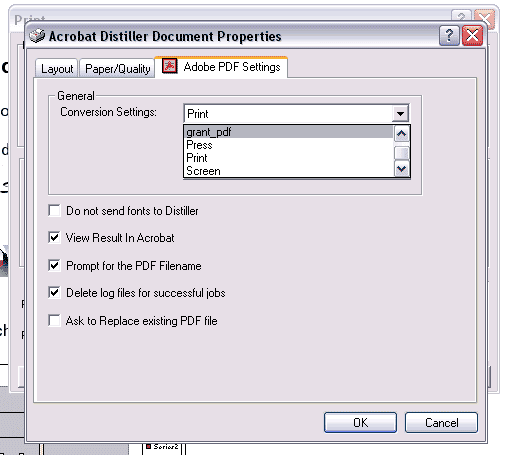 |
Select the properties button and move to the Adobe PDF settings menu option. In a default Acrobat 4.0 setup, the options are Press, Print and Screen. In a default Acrobat 5.0 setup you have the additional E-book option. You can download my custom distiller settings here. This zip file contains the grant_pdf job options. If these are placed in the C:\Program Files\Adobe\Acrobat 5.0\Distiller\Settings folder they will be available to distiller. I tend to delete the E-book.joboptions file as it is settings that I never use. The options that you select here will become the new default option. Don't forget to check also that you are printing to the correct paper size. In Australia the standard page size is A4, in the US it is letter. Letter sized paper is wider and shorter than A4 and can create headaches on printers. It is a basic mistake that can be made early on and will affect all your formatting if you discover it too late so always confirm the size of your paper at the beginning of the authoring process. |
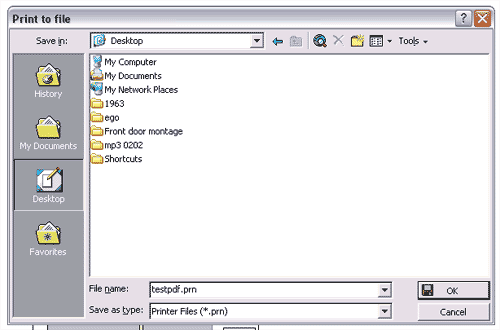 |
Now, checking that "Acrobat Distiller" is the printer and "Print to File" is enabled, the next menu box will direct you to name and save a ".prn" file. For convenience sake, I save mine to desktop. Press the OK and word will output a printer file and is ready for distiller. Switch to your desktop (I use the windows key + m to minimise all windows) and confirm that the file is there. It is now a simple matter of dragging the prn file onto the distiller application. Note that depending on the application, choosing Distiller as printer may generate a .prn or .ps file. Both are acceptable for distiller. |
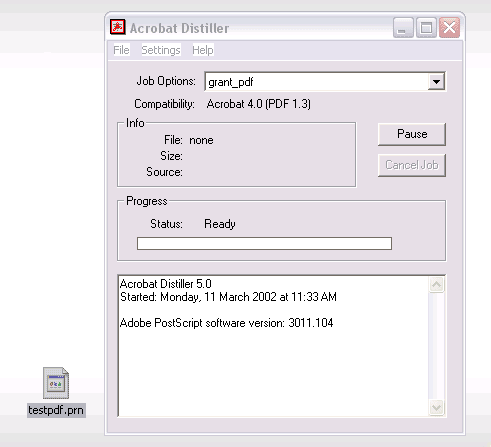 |
Here's a picture of distiller and the .prn file side by side. |
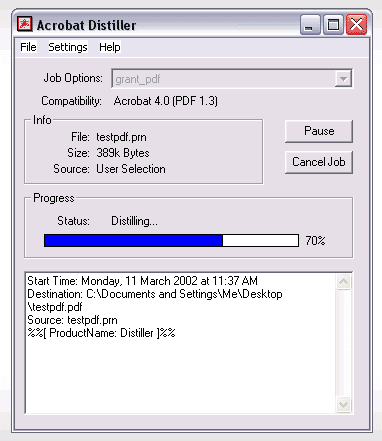 |
This is what happens when the file is dragged onto distiller. |
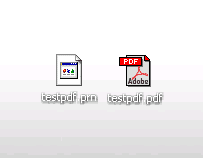 |
And this is the end result. A .prn file and and PDF file. |
|
When you open the PDF you get a perfect interpretation of your word file that will open the same in my computer, a computer running linux in Norway, a computer running OSX is Botswana or more importantly, a document that will spool quickly to the printer and print perfectly. If you'd like to compare for yourself, open the word file and the PDF and notice the difference for yourself. On a one page document like this the changes might not matter, but on a 4, 40 or 400 page document you can imagine what changes could occur in the word file. The other advantage with using PDF over a file format like words is that the PDF wont much your indexing, page breaks or formatting like a word file can do when it's opened on another persons machine.
|
|
|
|
|
* note: I take no responsibility if these instructions don't work on your machine. There is always the option to return to default settings. Problems may stem from the application producing the source postscript file and I do have the occasional problem file. This is neither a perfect or adobe-endorsed method, but it works far more often than it fails.
author: grant mcdonald www.indevelopment.org